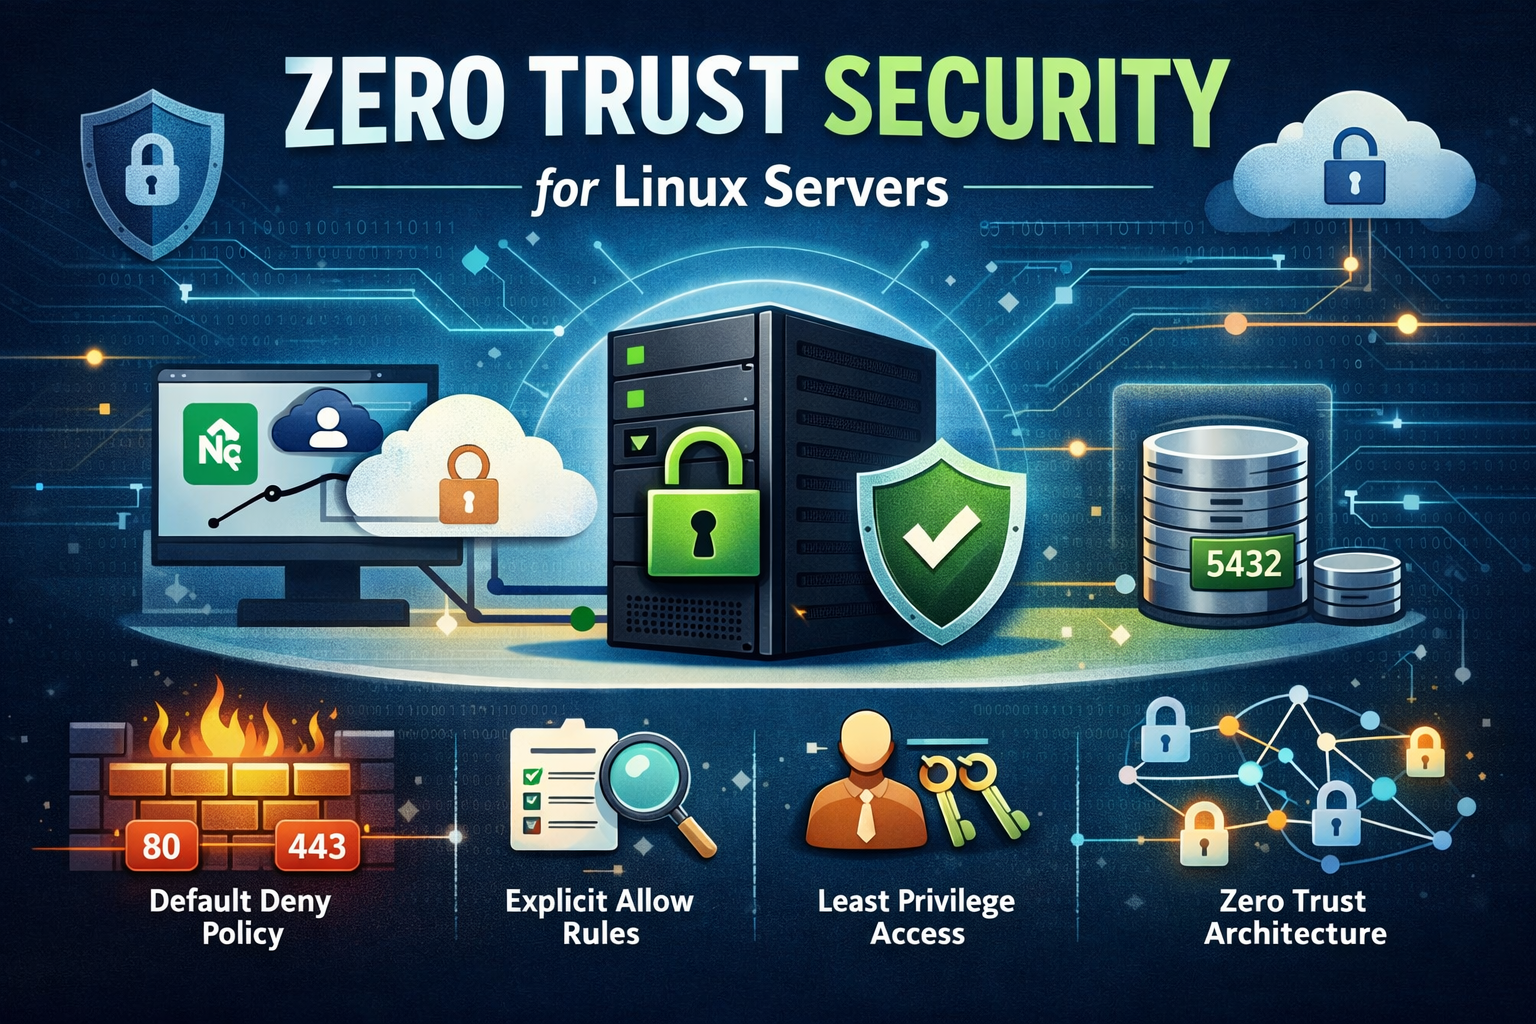
How to implement Zero Trust Security on a Linux server using Zero Trust Network Architecture (ZTNA)
-
 Appetenza
- 3 minutes, 48 seconds To Read
- 2026-01-29 07:44:46
Applying Zero Trust Network Architecture (ZTNA), Default Deny Policy, Least Privilege Access, and Multi-Layer Barrier Security
Modern server security is no longer about protecting only the perimeter. Attackers exploit open ports, misconfigured services, and weak access control to breach systems. The modern security model required for production systems is Zero Trust Security.
This guide provides a full practical implementation of Zero Trust Security on an Ubuntu server using:
- UFW Firewall (Network Layer Control)
- Nginx Reverse Proxy (Application Layer Isolation)
- PostgreSQL Access Restrictions (Data Layer Protection)
- Barrier Security Layers (Fail2Ban, SSH Hardening, Updates, HTTPS)
🔐 What is Zero Trust Security?
Never Trust. Always Verify.
Zero Trust Security assumes that breaches are possible and no network, user, or service is automatically trusted. Every access request must be validated and minimized.
- No implicit trust for internal or external traffic
- Every service is exposed only when necessary
- Access is granted based on strict rules
- Attack surface is continuously reduced
🏗 Understanding Zero Trust Network Architecture (ZTNA)
ZTNA enforces security across multiple layers:
| Layer | Security Control |
|---|---|
| Network | Firewall Default Deny + Explicit Allow |
| Transport | Port & Protocol Restrictions |
| Application | Reverse Proxy Gateway |
| Identity | IP Restrictions & Authentication |
| Data | Database Access Controls |
This article focuses on enforcing ZTNA at the server level.
🚫 Step 1 — Apply Default Deny Policy (Firewall Baseline)
A Default Deny Policy ensures all inbound traffic is blocked unless explicitly allowed.
sudo ufw reset
sudo ufw default deny incoming
sudo ufw default allow outgoing
At this stage, your server becomes invisible from the internet.
🔓 Step 2 — Configure Explicit Allow Rules
Allow Web Traffic (HTTP & HTTPS)
sudo ufw allow 80/tcp
sudo ufw allow 443/tcp
Allow PostgreSQL with Restriction
sudo ufw allow from 203.0.113.10 to any port 5432 proto tcp
sudo ufw deny 5432/tcp
This ensures only a trusted application server can access the database.
Allow SSH (Admin Access)
sudo ufw allow 22/tcp🛡 Step 3 — Enable the Zero Trust Firewall
sudo ufw enable
sudo ufw status verbose
Expected Firewall State
| Port | Service | Exposure |
|---|---|---|
| 80 | HTTP | Explicitly Allowed |
| 443 | HTTPS | Explicitly Allowed |
| 5432 | PostgreSQL | Restricted |
| 22 | SSH | Controlled |
| * | All Others | Denied by Default |
🧩 Step 4 — Enforce Least Privilege on Applications
Applications must never be directly exposed to the internet.
uvicorn main:app --host 127.0.0.1 --port 8000This ensures backend services are accessible only internally.
🌐 Step 5 — Nginx as Zero Trust Gateway
server {
    listen 80;
    server_name example.com;

    location / {
        proxy_pass http://127.0.0.1:8000;
        proxy_set_header Host $host;
        proxy_set_header X-Real-IP $remote_addr;
        proxy_set_header X-Forwarded-For $proxy_add_x_forwarded_for;
    }
}
Nginx becomes the only public entry point.
🐘 Step 6 — PostgreSQL Hardening
postgresql.conf
listen_addresses = '*'pg_hba.conf
host all all 203.0.113.10/32 md5🧱 Barrier Security Layers (Defense in Depth)
Fail2Ban – Brute Force Protection
sudo apt install fail2ban
sudo systemctl enable fail2ban
Disable Root SSH Login
PermitRootLogin noEnable Automatic Security Updates
sudo apt install unattended-upgrades
sudo dpkg-reconfigure unattended-upgrades
Enforce HTTPS Encryption
sudo apt install certbot python3-certbot-nginx
sudo certbot --nginx
Limit Nginx Request Rate
limit_req_zone $binary_remote_addr zone=one:10m rate=10r/s;🔐 Additional Professional Security Tips
- Use SSH key authentication instead of passwords
- Move SSH behind VPN or Bastion Host
- Disable unused services
- Regularly audit logs using
journalctl - Use file integrity monitoring (AIDE)
- Keep backups isolated and encrypted
🎯 Final Zero Trust Security Summary
- ✔ Default Deny Firewall
- ✔ Explicit Allow Rules
- ✔ Least Privilege Services
- ✔ Reverse Proxy Isolation
- ✔ Database Access Restrictions
- ✔ Brute Force Defense
- ✔ SSH Hardening
- ✔ Automatic Security Updates
- ✔ HTTPS Encryption
🚀 Outcome
Your server now follows enterprise-grade Zero Trust Network Architecture. Even if one layer fails, additional security barriers continue protecting your infrastructure.
